VDI Citrix
ExactAccess supports additional "remote" installations in a full Virtual Desktop Infrastructure (VDI) configuration. This configuration must be specified at the time of installation to distinguish the behavior when using Windows desktops hosted on a virtual machine server. If you are hosting the VDI guest in XenDesktop and are connecting to this desktop using the Citrix client, install the client in the guest operating system using the Citrix option.
If you are installing the client in a VDI desktop with redirected prox card readers, then you should use the Kiosk Mode deployment or Passthrough options instead. VDI installation disables the prox functionality of the XA client as it is assumed the end point device connecting to this desktop will handle the tap-in and out features. VDI installations are intended to support being able to roam the session to any end point device.
Interactive Installation is not supported when installing within a virtual machine intended for VDI when hosted by Citrix. ExactAccess does not allow for setting the VDI mode from the GUI.
Follow the command line installation instructions below to install for this mode.
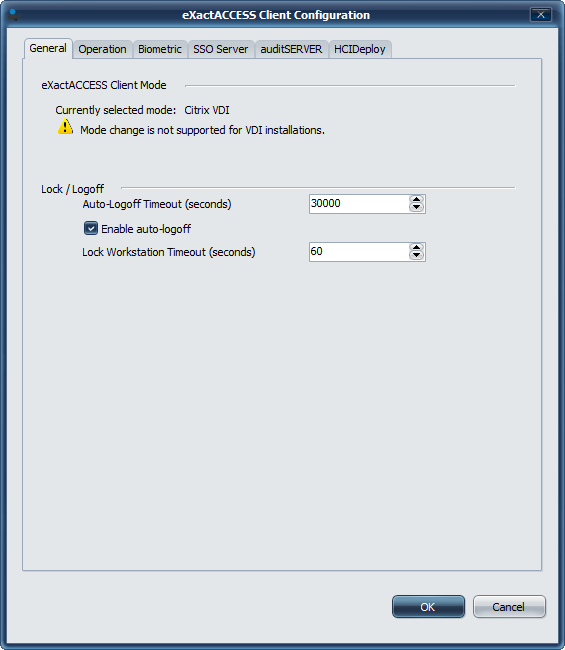
After installation, Note that the General Tab does not have a change mode - other settings may be set using the ExactAccess Client Configuration Tool
Command Line Installation
From an administrative command prompt (or remote deployment package), execute the ExactAccess client install with the appropriate command line parameters.
-
Set kiosk mode: XA_MODE=6
-
Set the SSO server: XA_SRV=(name of server)
-
Set to use auditSERVER: XA_AUDIT_SRV=(name of server)
-
Set to use Deploy server: X_D_SRV=(name of server)
- Set workstation deployment group: X_D_GRPS=
- Set workstation deployment group: X_D_GRPS=
-
Disable running configuration tool after install/upgrade: X_RUN_CONFIG=0
Command line deployment
EXAMPLE
msiexec /i "HealthCast ExactAccess Client.msi" XA_MODE=6 XA_SRV=myServer XA_AUDIT_SRV=myServer X_D_SRV=myServer X_D_GRPS=Standard X_RUN_CONFIG=0 /qn
Registry Settings
Per-User Inactivity timeouts
It is now possible for each user session to have a customized lock and logoff timeouts independent of other users timeouts by modifying the following keys in the users/session profile registry:
HKEY_CURRENT_USER\Software\HealthCast\ExactAccess
LockTimeLimit: reg_dword = 60
LogoffTimeLimit: reg_dword = 240