
Prerequisites
Before installing Lynx 1.7.1, please ensure that the target system(s) meet the following requirements:
-
Windows Server 2012 R2, Windows Server 2016, Windows Server 2019 or Windows Server 2022 (physical or virtual machine).
-
The server on which Lynx 1.7.1 will be installed must be joined to the Active Directory domain that contains the users that will use the solution.
-
Valid SSL certificate - The certificate can be issued by a public certificate authority (for example, Verisign or GoDaddy) or an internal authority (for example, Windows Certificate Services).
-
Microsoft .NET 4.6.1 or greater is installed.
-
License key (available from Identity Automation - please contact your account representative).
-
(OPTIONAL) Microsoft SQL Server 2012, 2014, 2016, 2017, or 2019 (any edition). SQL Server can be installed on the same machine as the Lynx Server software, or on a different machine. Note: For enterprise deployments, Identity Automation recommends the use of a high-availability SQL Server environment. Therefore, for enterprise deployments, you should choose an edition of SQL Server that supports high availability.
-
(OPTIONAL) Will you be using Lynx in conjunction with Identity Automation's ExactAccess (XA) product? If using Lynx with ExactAccess (XA), then Lynx must be installed on the same computer as XA Server. This is because Lynx will use the encryption components that XA Server provides to read and write encrypted data in the database. In addition, you must use a Microsoft SQL Server instance because it is required by the XA Server.
Compatibility with Previous QwickAccess for ThinOS Releases
| Product | QA Package Name | QA Version | Compatible with Lynx 1.7? |
|---|---|---|---|
| QwickAccess for ThinOS 8.5 and 8.6 | QwickAccess came embedded in ThinOS 8.5 and 8.6 so there is no separate package | N/A (this version came embedded in ThinOS 8.5 and 8.6) | Yes |
| QwickAccess for ThinOS 9.0 | QwickAccess came embedded in ThinOS 9.0 so there is no separate package | N/A (this version came embedded in ThinOS 9.0) | No |
| QwickAccess for ThinOS 9.1 MR1 | idauto_1.0.1_1_signed.pkg-V1.0.1.1 | Version 1.0.1.1 | No |
| QwickAccess for ThinOS 9.1.1 (9.1.4234) | Identity_Automation_QwickAccess_2.0.0.3_3.pkg | Version 2.0.0.3 | No |
| QwickAccess for ThinOS 2208(9.3.2102) | Identity_Automation_QwickAccess_2.0.1.0_3.pkg | Version 2.0.2.1 | No |
| QwickAccess for ThinOS 2211 (9.3.3099) | Identity_Automation_QwickAccess_2.0.3.1.1.pkg | Version 2.0.3.1 | No |
| QwickAccess for ThinOS 2303 (9.4.1141) | Identity_Automation_QwickAccess_2.0.4.1.6.pkg | Version 2.0.4.1.6 | Yes |
| 2311 | Version 2.1.0 | Yes |
Key Fixes:
| Ticket Number | Description |
|---|---|
| HEALTH-831 | QwickAccess for Dell ThinOS password saving issue while saving their password when tapping in on a 9.x machine, they are no longer able to tap in on an 8.6 machine. If they attempt to tap in on an 8.6 machine after storing their password on a 9.x, then they receive an invalid username and password error. |
| HEALTH-848 | Fixed the Client Certificate issue for WTOS 8.6 in Lynx-1.7.1 & also enabled Certificate Authentication menu for WTOS 8.6. |
New Features and Enhancements
Self-Sign Password Reset (SSPR) introduced in this release. Tickets covering SSPR functionality are:
| Ticket Number | Description |
|---|---|
| HEALTH-794 | Enable SSPR functionality in Lynx - 1.7.1.x. |
| HEALTH-800 | SSPR window is not opening during registration process. |
| HEALTH-801 | User is not able to reset password on Zulu application when SSPR is enabled. |
| HEALTH-802 | Fixed issue while changing values of time and number of registrations in one section of SSPR it was reflecting in another section. |
| HEALTH-819 | Fixed issue for require number of security questions not prompted to answer while resetting the password. |
| HEALTH-820 | Fixed issue while registering through SSPR when required number of security questions is selected less than three. |
| HEALTH-821 | When required number of security questions is one or two required number of answers can be selected as three. |
| HEALTH-829 | Fixed issue while deleting user from Lynx server once it was deleted from Active Directory. |
| HEALTH-842 | User is not getting all the three security questions and answers after doing SSPR registration with three questions. |
| HEALTH-859 | Fixed issue when user was unable to reset password if security answer was incorrect even once. |
Database Update Instructions
Lynx 1.7.1 can be configured to use an embedded database or a Microsoft SQL Server database. If you are using the embedded database, then no further action is required. If you are using a Microsoft SQL Server database, then you must upgrade the database to support Lynx 1.7.1, if you are upgrading Lynx from 1.5.0. Follow these instructions to upgrade your SQL Server database.
- After the installation or upgrade to Lynx 1.7.1, open the Windows Services app (services.msc) and find the HealthCast Lynx service in the list.
- Stop the HealthCast Lynx service.
- Double-click the HealthCast Lynx service to open its property pages.
- Click the Log On tab.
- Select the This account radio button and enter the credentials for an account that has read and write privileges to the Lynx database on SQL Server.
- Click OK.
- Next, start SQL Server Management Studio (SSMS)
- In SSMS, open the C:\Program Files (x86)\HealthCast\Lynx\CreateDb.sql file.
- In the CreateDb.sql file (now opened in SSMS) change the top line from use [YOUR-DATABASE-NAME-HERE] to contain the correct Lynx database name. Typically, this would look like this: use [Lynx] although your database name may be different.
- Run the CreateDb.sql file within SSMS.
- You will notice several errors that all say that certain objects (tables) are already created. You can safely ignore these errors.
- Now start the HealthCast Lynx service which was stopped in Step 2 of these instructions.
- The database update is now complete.
Upgrading from Lynx 1.6.x
Lynx 1.7.1 can be upgraded directly from 1.6.x (1.6.0 & 1.6.1) versions without any issue. The upgrade process also do not require any special instruction to update the Lynx database and the data also persists in the existing database.
-
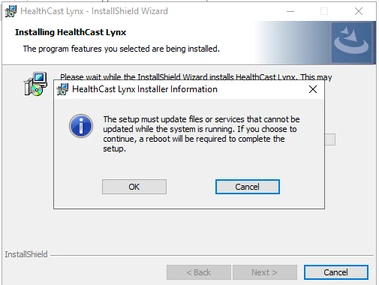
Assuming that we have already Lynx-1.6.x is installed and to upgrade it to Lynx-1.7.1, we have to install the latest Lynx build i.e. Lynx-1.7.1.29 by double clicking on the setup file.
-
It may display a dialog box stating that the reboot is required and we have to click on OK button to move forward, as displayed in the following image.
-
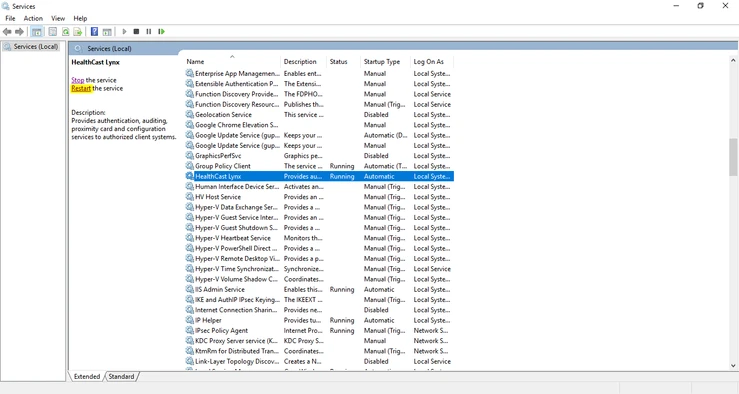
After completing the Lynx-1.7.1 installation we have to restart the HealthCast Lynx service from Services as highlighted in the following image.
-
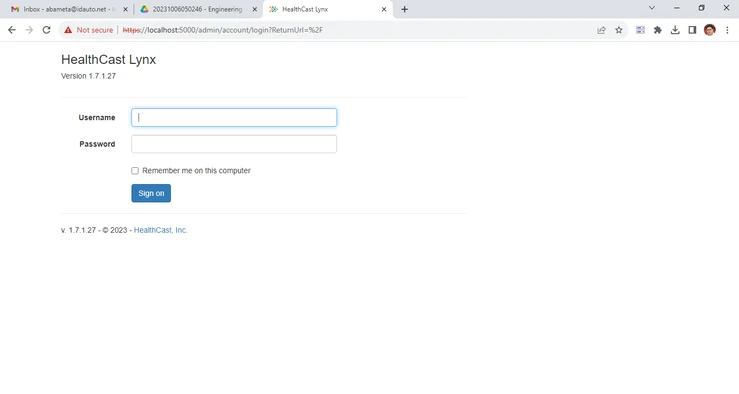
Then run the Lynx portal in web browser as displayed in the following image and it displays the current installed version in the top and bottom of the login screen of Lynx.
-
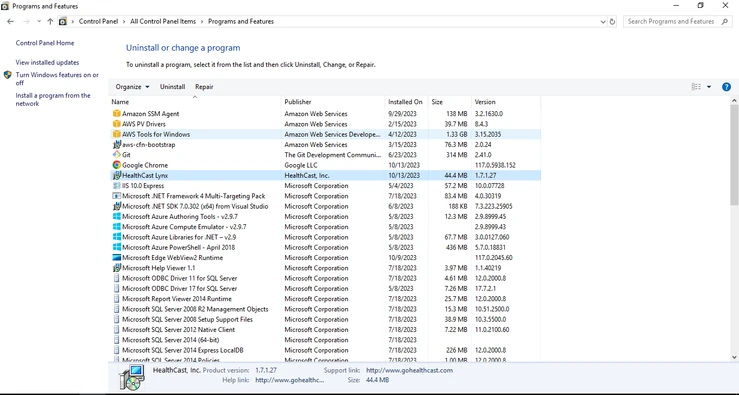
We can also verify the upgraded version from the Control Panel > Program & Features list that the current installed version is changed to 1.7.1.29, as displayed in the following image.
-
So, in this way we can easily upgrade the Lynx from 1.6.x to 1.7.1 version.
Known Issues
Upgrading from Lynx 1.5.3
If Lynx 1.5.2 (and below) or 1.5.3.1 or 1.5.3.2 is currently installed on the system, you won’t be able to perform an upgrade to Lynx 1.7.1 without first uninstalling Lynx 1.5.2 (and below), 1.5.3.1 or 1.5.3.2 and removing files/and folders that are left behind after uninstall. Please follow the steps below to upgrade from Lynx 1.5.2 or 1.5.3.
- Uninstall Lynx 1.5.2 or 1.5.3 by using Windows Add/Remove Programs (or similar method).
- Next, locate the RemoveServiceAndFolder.ps1 file in the package that contains the Lynx 1.7.1 deliverables.
- Run the RemoveServiceAndFolder.ps1 file as an administrator.
- Now run the Lynx-1.7.1.29-Setup.exe file to install Lynx 1.7.1.
Settings Not Preserved on Upgrade
After upgrading from the 1.5.0 version of Lynx you will need to re-enter the settings that you had previously. This is because the upgrade to Lynx 1.7.1 will not preserve the previous settings. To reapply your previous settings after an upgrade, open the Lynx Admin web app and click the “Settings” tab on the left. Then go through each of the settings tabs and values to ensure they meet your requirements. Make changes as needed. Note that Lynx 1.7.1 now allows you to create settings profiles. Please see the section “Settings Profiles” at the end of this document for more information.
Global Endpoint Settings
Following settings are currently not working under Global End Point Settings menu:
- Password History Count
- Minimum Password Length is not working with '6' and less than '6' characters
- Password Complexity is working with complex passwords only
- When invalid domain name is entered in domain name field, user can login and password can be changed but other features may not be working like user registration etc.
FAQ:
Question 1: How to enable Self-Sign Password Reset (SSPR) in Lynx?
Answer 1: To enable Self-Sign Password Reset (SSPR) feature in Lynx, use the following steps.
-
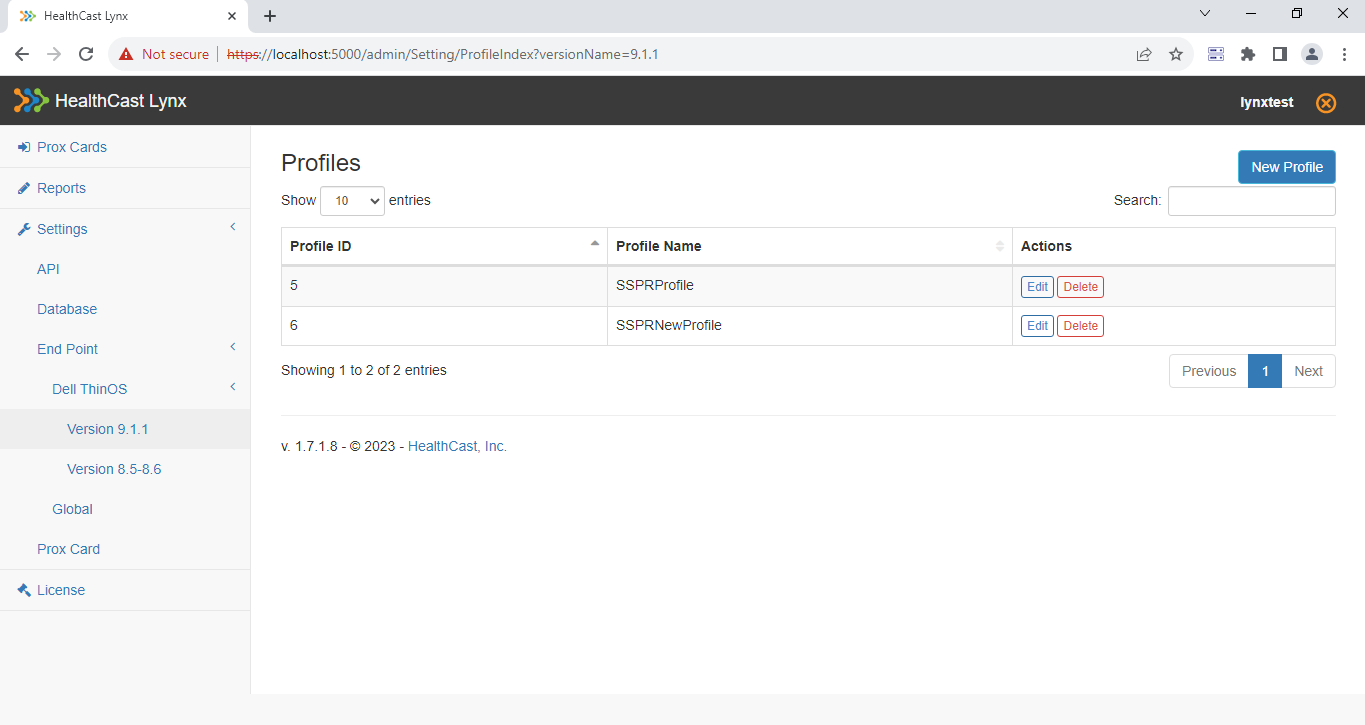
First login into Lynx portal and go to End Point > Dell ThinOS > Version 9.1.1 and create a new profile from the New Profile button displaying in top-right corner as displayed in the following image.
-
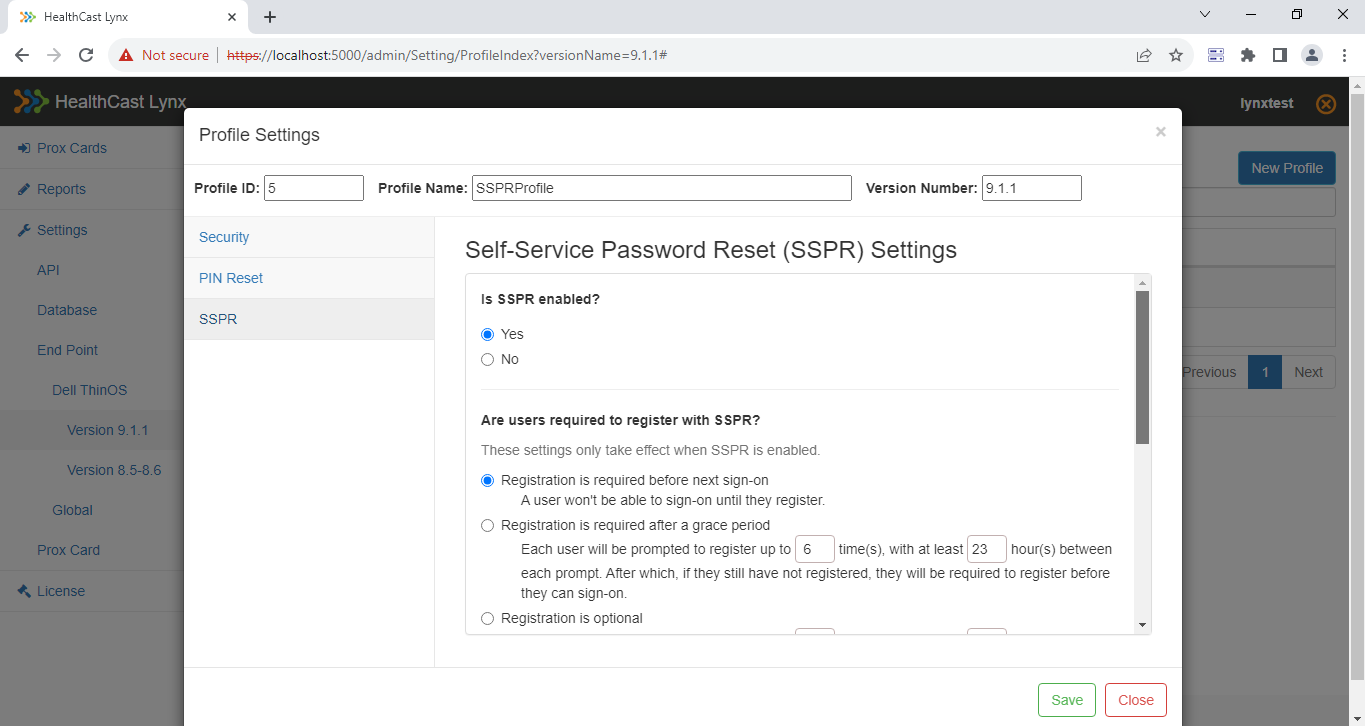
Then enter Profile Name in the Profile Name textbox and move to the center area of the dialog box where Self-Service Password Reset (SSPR) Settings are displayed. Then to enable the SSPR select Yes option in Is SSPR enabled? setting as displayed in the following image.
-
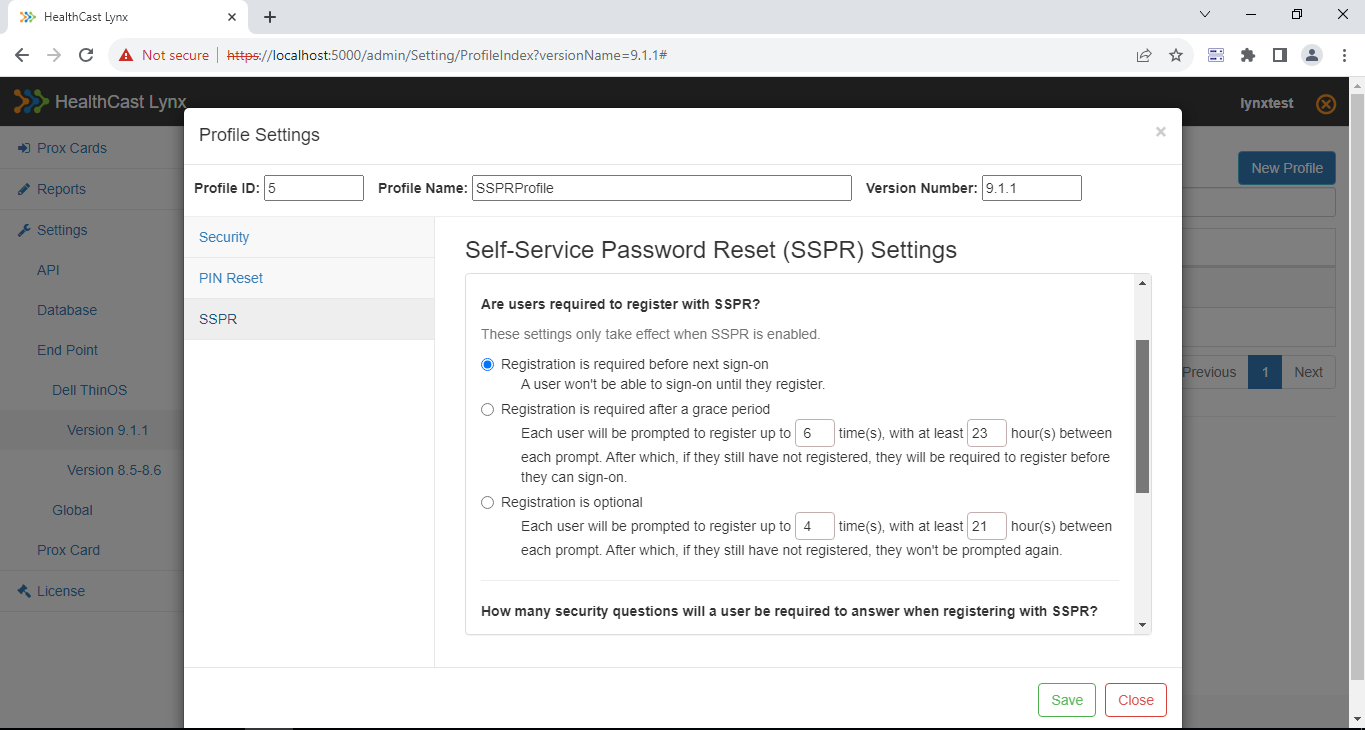
Then scroll down the settings and here you will get the option to make SSPR settings as Required, Grace Period or Optional. Select the appropriate option as per your requirement as displayed in the following image.
-
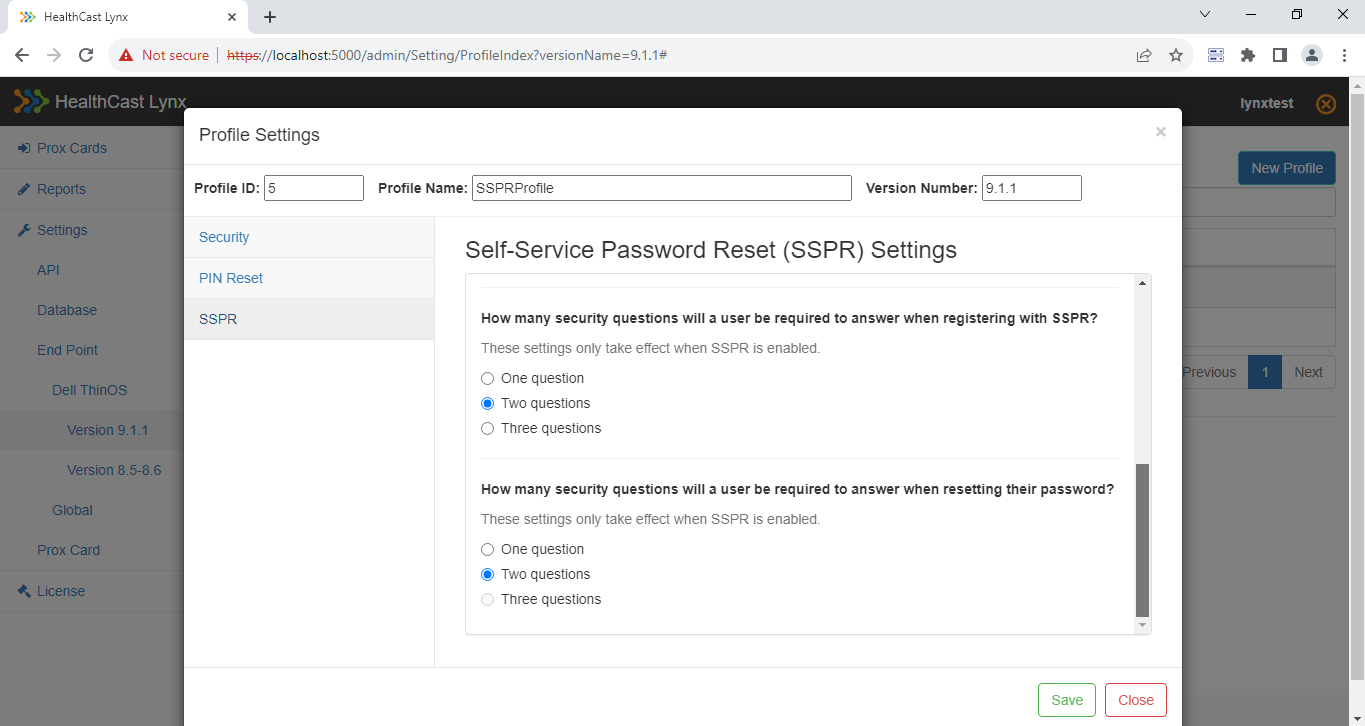
Then scroll down the settings and here you will get the option to set the number of questions required while registering with SSPR and the number of questions required while resetting your password using SSPR as displayed in the following image.
-
Then click on Save button in the bottom-right of the screen. It will save the SSPR settings with for the selected profile. Now, when you will try to register the user from Zulu client the appropriate SSPR questions will display as selected here.
Supported QwickAccess Versions:
- QwickAccess for Dell Wyse ThinOS (Zulu) 2.1.0 and above