Kiosk Mode - Full SSO
The full XA Single Sign-On (SSO) client supports several configurable workflow options to meet varying organizational needs and dependencies for providing a secure and enhanced clinical workflow experience. It offers a full suite of SSO-enabled applications from a local desktop.
Interactive Installation
ExactAccess client supports both 32-bit and 64-bit operating system. Choose the appropriate installation MSI for the operating system target:
for 32-bit clients: HealthCast ExactAccess Client.msi (not supported for Roaming Sessions installations)
for 64-bit clients: HealthCast ExactAccess Client x64.msi
- Run the MSI
- Adjust install directory if desired
- Click Install
- Confirm UAC if prompted
- Client Configuration Tool will start when the install is complete
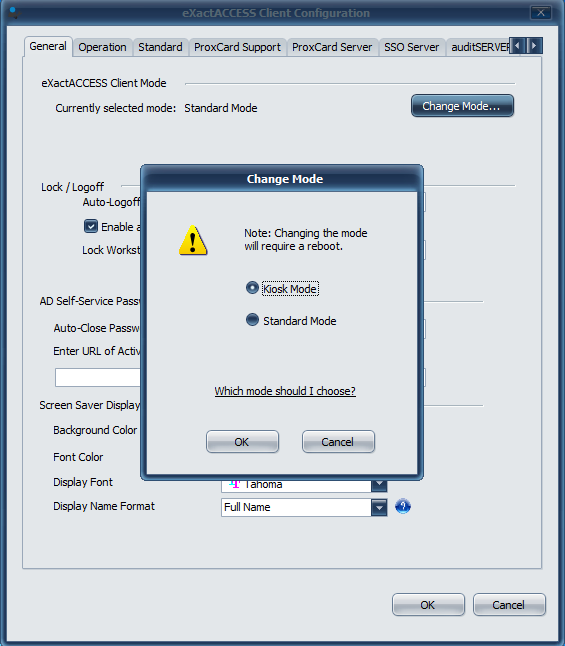
- Select Change Mode button
- Choose Kiosk Mode
-
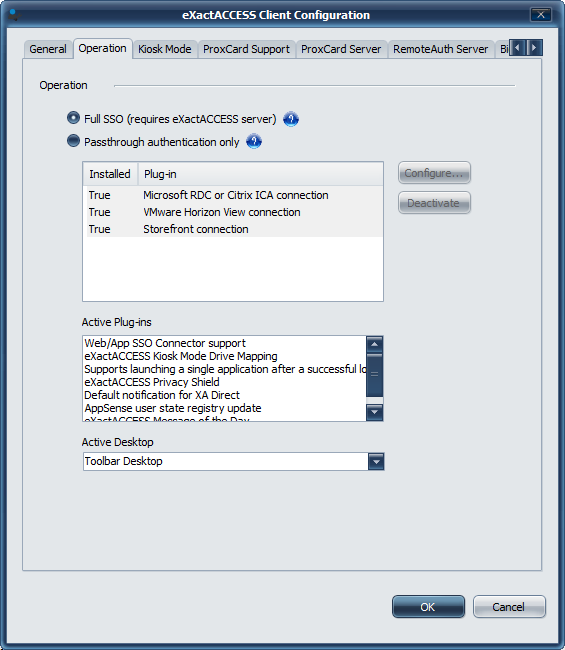
Select Operation Tab
-
Choose Full SSO
-
Ensure that all appropriate server connectivity information is provided under each of the server tabs.
-
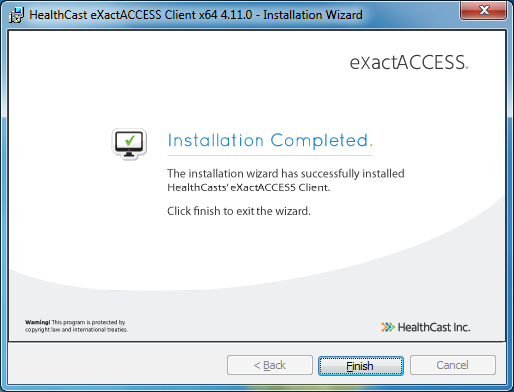
After UI configuration is complete, select Finish and reboot the workstation when prompted.
Installing the RapidIdentity Plug-in for Fingerprint
This process will install the components needed for the fingerprint plugin to interact with the RapidIdentity Client.
-
Microsoft .NET Framework 3.5 is required to be installed on the system prior to running this install in order to support Biometrics.
-
When installing on 64-bit operating systems, the install must be started from a 32-bit command prompt.
Installing from a 32-bit Command Prompt
- Open a command prompt as administrator.
- From the 64-bit command prompt, start the 32-bit version with the following command:
- c:\Windows\SysWOW64\cmd.exe
- Change to the directory containing the "RapidIdentity plug-in for Biometrics.msi" installation file.
- Run the following command from the 32-bit command prompt:
- msiexec/i "RapidIdentity plug-in for Biometrics.msi"
- To continue with the Biometric Component, proceed with the following steps.
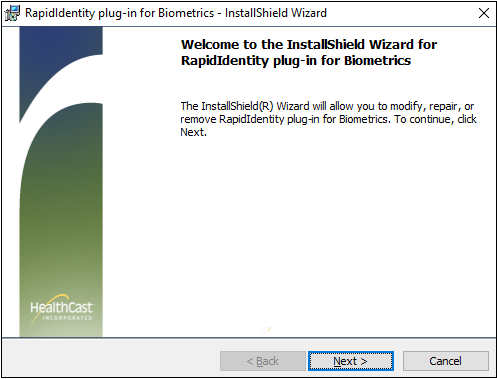
- The RapidIdentity plug-in for Biometrics Installshield Wizard will open.
-
Click Next.
-
The next screen that populates is the Destination Folder.

- Click Next to continue or select the folder in which the plug-in will be installed and then click Next.
-
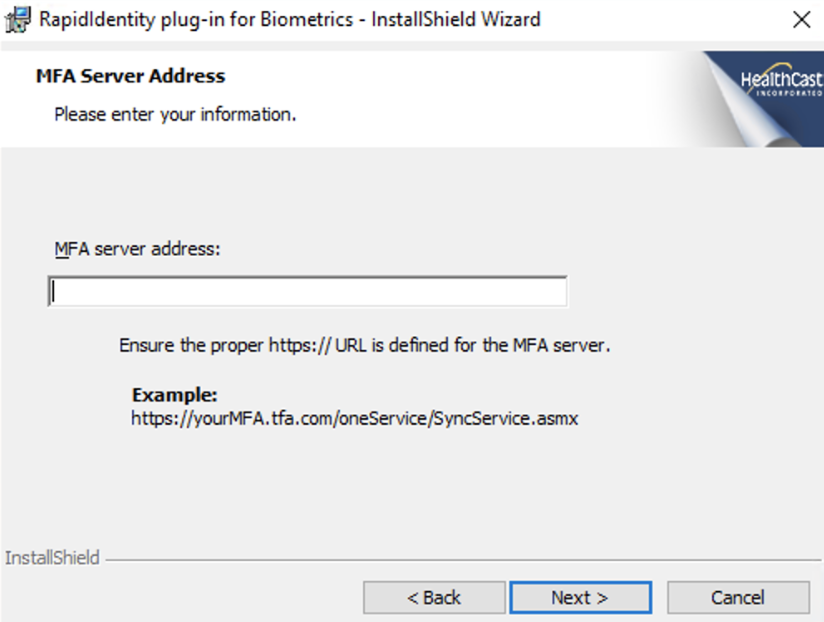
Enter the MFA server address and click Next.
-
Click Install on the following screen to begin the installation.
-
Wait for the installation to complete successfully.
-
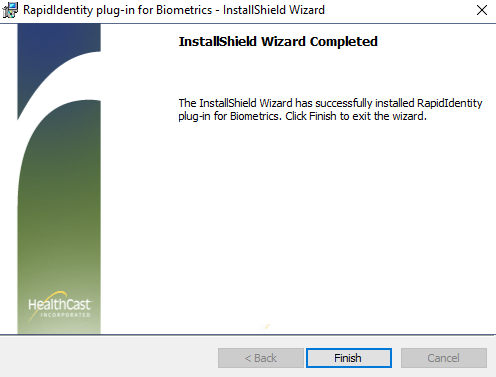
The InstallShield Wizard Complete screen will appear when installation is complete.
-
Click Finish.
-
The Biometric Component is now installed.
Installing the Redistribution Drivers Application
The next step is to run the Redistribution Drivers for the U.are.U SDK Components used in the SDK to interact with the fingerprint reader.
Before proceeding, ensure that a fingerprint reader is plugged in and ready to use.
- Locate and open the U.are.U workstations folder and Right-Click on the setup.exe file and select Run as administrator.
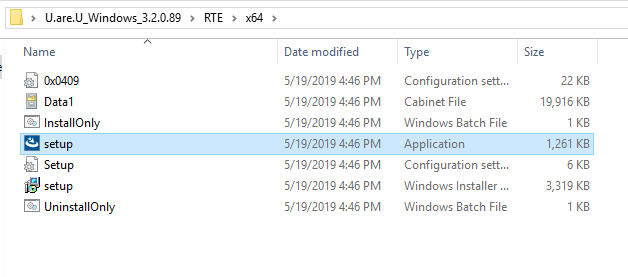
The U.are.U_Windows_3.2.0.89.zip extracted the files needed and can be located in the following folders:
- 64 bit Workstations: U.are.U_Windows_3.2.0.89\RTE\x64
- 32 bit Workstations: U.are.U_Windows_3.2.0.89\RTE\x86
- The InstallShield Wizard Welcome Screen will populate; click Next.

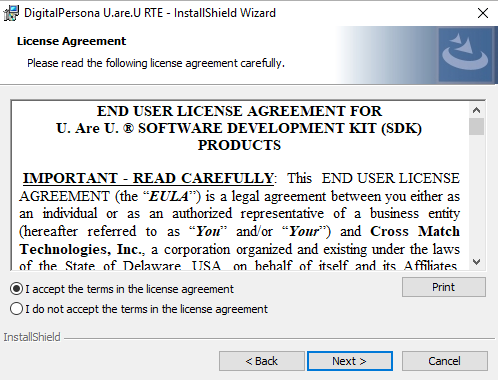
- Read the License Agreement that appears, accept the terms of the agreement, and click Next.
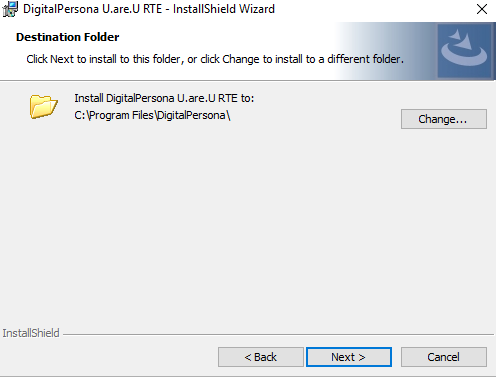
- The next screen that populates is the Destination Folder.
-
Click Next to continue or select the folder in which the plug-in will be installed and then click Next.
-
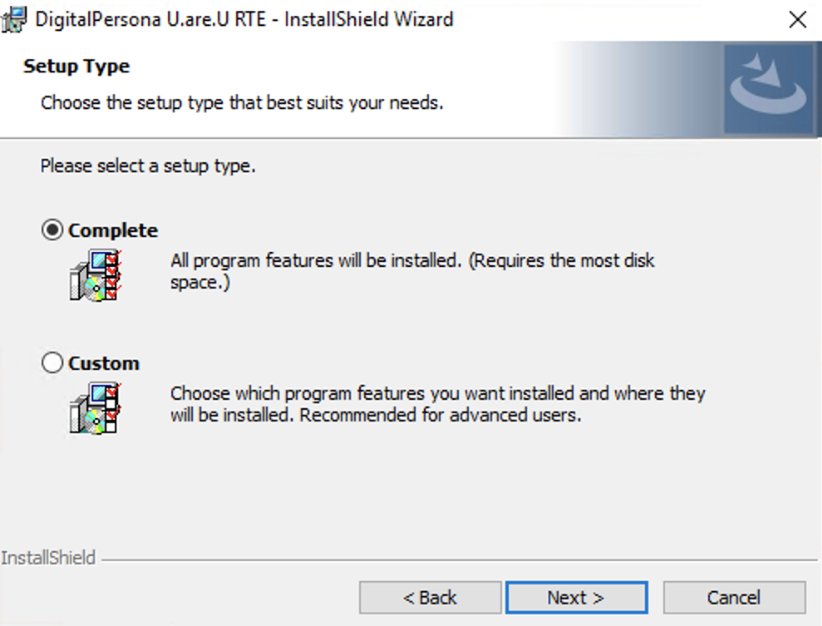
This generates the Setup Type window that includes a complete and a custom setup type.
-
Select Complete and click Next.
-
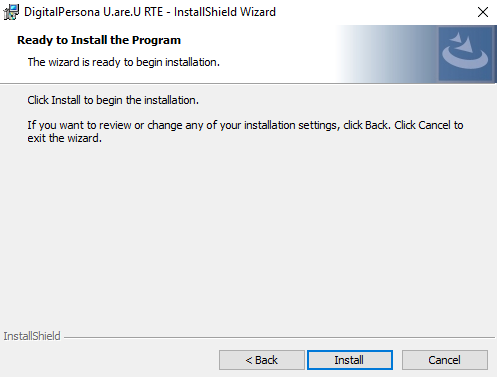
The program is now ready for installation. Click Install to begin this process.
-
Wait for the installation to complete successfully.
-
The InstallShield Wizard Complete screen will appear when installation is complete.
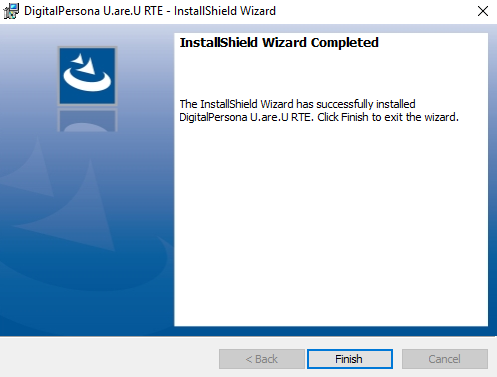
- Click Finish. The system will need to be restarted to complete all of the updates to the workstation.
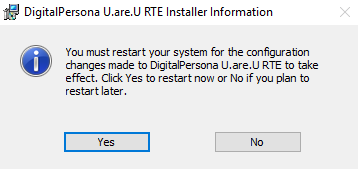
- Click Yes to restart now.
The system will now restart for the configuration changes to take effect.
Command Line Installation
Configuring KM Connectivity
Installation command line parameters for Kiosk Mode with full SSO configuration
From an administrative command prompt (or remote deployment package), execute the ExactAccess client install with the appropriate. Below are the minimum values that need to be configured.
- Set kiosk mode: XA_MODE=KM
- Set the servers: XA_PROX_AUTH=(name of server)
- Set to use auditSERVER: XA_AUDIT_SRV=(name of server)
- Set to use Deploy server: X_D_SRV=(name of server)
- Set workstation deployment group:** X_D_GRPS=(groups to add workstation to in HCIDeploy)**
- Set the Kiosk Domain to validate users against:** XA_KM_DOMAIN=(Domain)**
- Enable PIN Support: X_PSE=0 (by default, PIN support is DISABLED)
- -1 = Pin support DISABLED (value as: X_PSE=4294967295)
- 0 = Always prompt for PIN on every login (may also prompt for password if it is expired)
- Set PIN Minimum Length: X_PIN_LEN=(4, 5, or 6)
- (optional) Disable remote auth for domain joined workstations if desired: X_RARL=0
- Disable running configuration tool after install/upgrade: X_RUN_CONFIG=0
- To enable Omnikey Proximity support: X_PROX_RT=SCARD
- To use standard RFIDeas Proximity support: omit X_PROX_RT, or use: X_PROX_RT=USB
Command line deployment
Tip
ExactAccess client supports both 32-bit and 64-bit operating system. Choose the appropriate installation MSI for the operating system target:
for 32-bit clients: HealthCast ExactAccess Client.msi
for 64-bit clients: HealthCast ExactAccess Client x64.msi
msiexec /i "HealthCast ExactAccess Client.msi" XA_MODE=KM XA_PROX_AUTH=myServer XA_AUDIT_SRV=myServer X_D_SRV=myServer X_D_GRPS=Kiosk X_RARL=1 XA_KM_DOMAIN=HEALTHCAST X_PSE=0 X_PIN_LEN=5 X_RUN_CONFIG=0 /qn
### Registry Settings