This article describes how to automatically configure RFIdeas badge readers using HWG+ files. The process consists of two steps:
- Generate an HWG+ (hardware configuration) file with the desired configuration
- Deploy the HWG+ file
- Update the XA Client registry settings
Generate an HWG+ file
- Download and install the RFIdeas pcProxConfig utility from the RFIdeas web site.
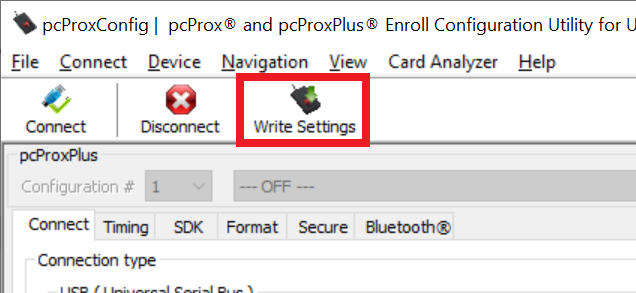
- Run the pcProxConfig utility
- IMPORTANT: Ensure that you have a compatible badge reader attached to your system!
- Make any desired changes to the badge reader configuration
- Save the configuration ("Write Settings") to the badge reader
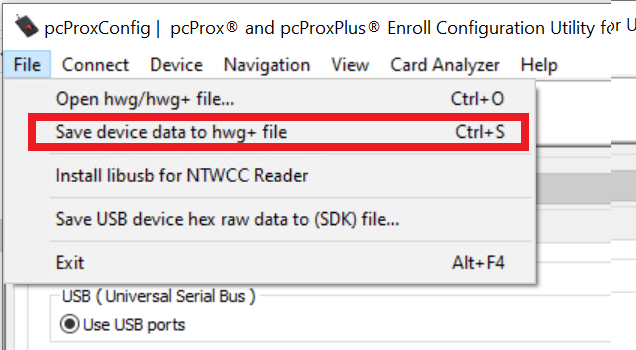
- Save the configuration to an HWG+ file
Deploy the HWG+ file
- Copy the new HWG+ file to the location you want to have it stored (e.g. network file share, or local drive and folder).
Update the XA Registry with the location of the HWG+ file
On a system with XA Client installed:
- Open regedit
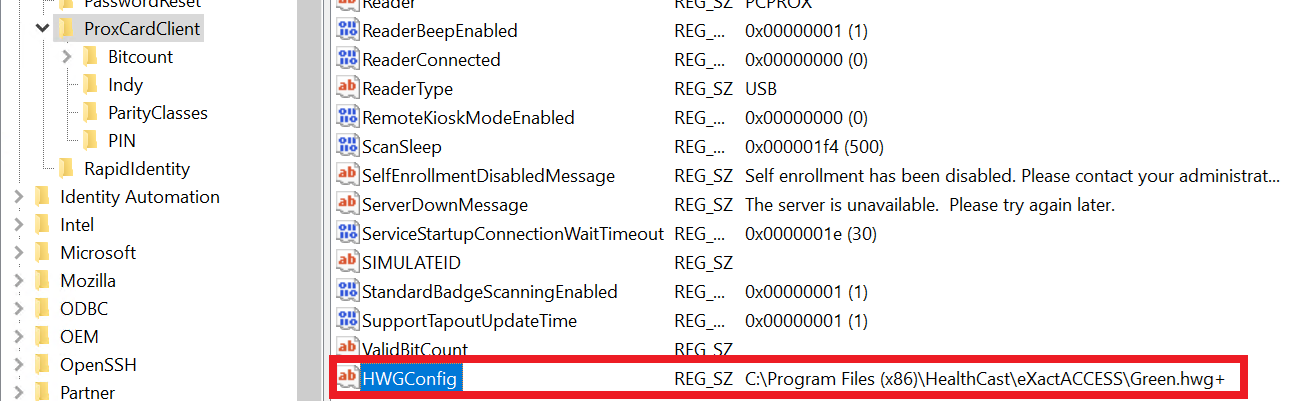
- Go to the HKEY_LOCAL_MACHINE\SOFTWARE\HealthCast\ProxCardClient registry key
- Verify whether the HWGConfig setting exists or not. If it does not, create a new reg_sz setting and name it HWGConfig.
- Enter the full path and name of the HWG+ file you wish to have applied to the badge reader (see example below).
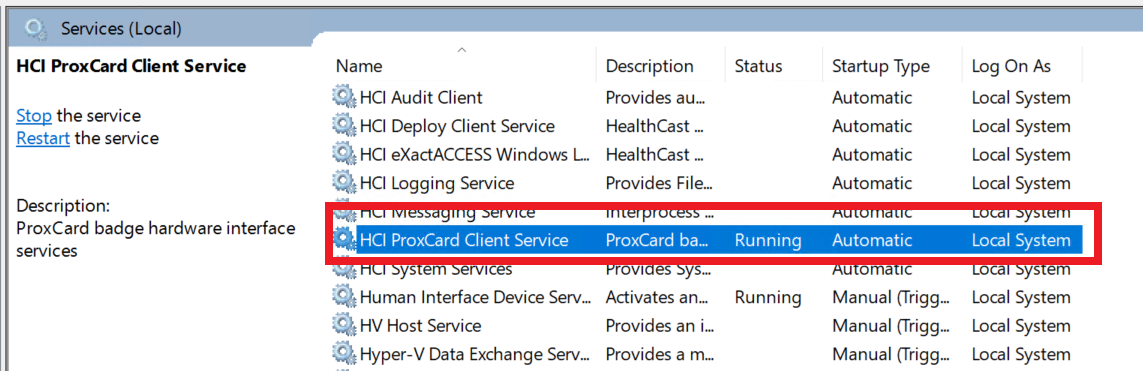
- XA will apply the new hwg+ configuration the next time the HCI ProxCard Client Service restarts (e.g. after a system reboot). You may also restart the service manually to apply the HWG+ file.